We all love beef jerky, and if you are reading this it is because you want to make your own. Buying pre-made beef jerky from a store is nice, but it doesn’t compare to the satisfaction of preparing your own. Sure the process of preparing this American delicacy is a bit time-consuming, but it is well worth it.
Which brings me to the topic of today how to make Beef Jerky with a Dehydrator. There are many ways of making beef jerky and not all involve a dehydrator. But, if you are like me you will want to speed up the process. And here is where a dehydrator comes in handy.
Personally, I use an Excaliber TB food dehydrator, but this is personal preference and you can use any of the many dehydrators available out there. Now let’s look at How to Make Beef Jerky in Dehydrator.
- Large Capacity: Equipped with 9 Excalibur dehydrator trays, this large food dehydrator boasts 15 square feet of drying space
- Versatile Uses: Features a 26-hour dehydrator timer and an adjustable thermostat with a range of 105 to 165 degrees F – low enough for fruits and vegetables but high enough for dehydrating meat
- Low & Slow for Immune Boost: Cooking foods at no higher than 115-118 degrees in a dehydrator preserves nutrients; it's the perfect dehydrator for food and jerky, as well as dried fruit leather, fruit...
Last update on 2026-02-14 / Please note that Prices and Availability Are Subject To Change /Paid links / Images from Amazon Product Advertising API
There isn’t one universal way of making beef jerky and everyone seems to have their own method of doing it. Some prefer using modern equipment’s such as dehydrators while others prefer doing it the old fashioned way.
In this article, I will be discussing how is beef jerky made. First I will discuss how beef jerky is made with a dehydrator. So without further ado let’s get into it.
Last update on 2026-01-28 / Please note that Prices and Availability Are Subject To Change /Paid links / Images from Amazon Product Advertising API
How To Make Beef Jerky With a Dehydrator
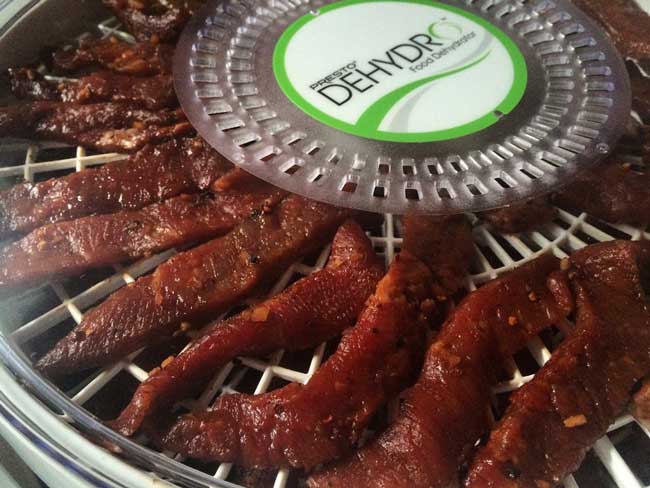
Step One: Meat Preparation
The first thing you will need is a lean piece of meat. This can be a flank steak, bottom round, top round or sirloin tip. The idea here is to get a piece of meat with virtually no fat. Fat will reduce the shelf life of your jerky.
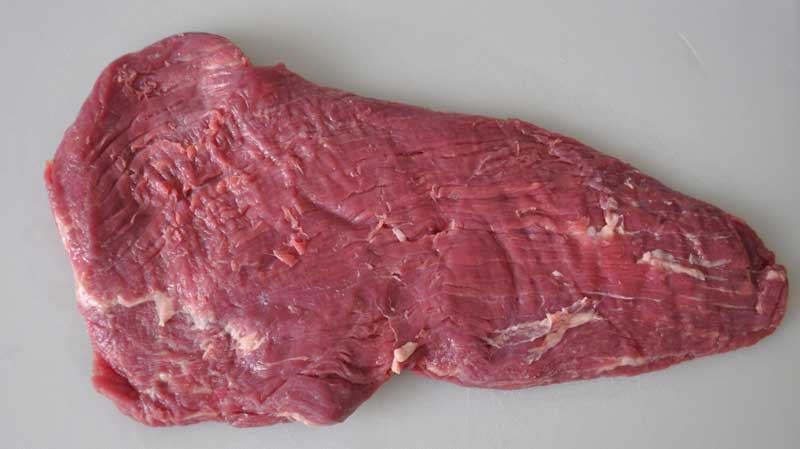
Needless to say whichever part you choose for preparing beef jerky chances are it will have bits of fat. Remove these bits of fat by slicing them off. Remove all or any visible fat on the meat.
Step Two: Freeze
The next step on How to Make Beef Jerky in Dehydrator is freezing. Place your meat in a freezer for between 1 and 2 hours. The purpose of this is to freeze it for easy cutting. However, the meat should be fully frozen.
It should be hard to the touch. Next slice the meat against the grain around 1/8 to ¼ inch thick for an easier chew. If you want a chewier jerky slice the meat with the grain and not parallel to it. Making the slices can be tough.
Especially if you do not know how to cut against the grain. You can have a professional butcher do it for you. The grain refers to the direction of the sinews in the meat. These muscle fibers are tough as they helped the animal in its movement.
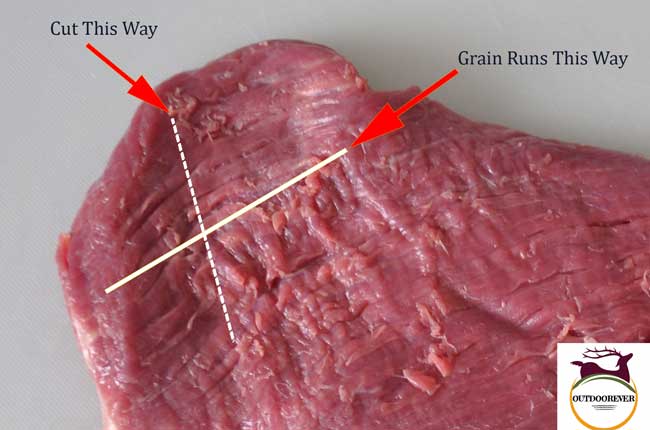
If you gut the meat with the grain it will be tough to chew due to these muscle fibers. On the other hand, if you cut along the grain you don’t have to worry about tough meat.
Alternatively, you can skip the freezing process and use a jerky slicer. A jerky slicer will come in handy if you want to make a lot of jerkies.
- Dual Purpose: Our 2-in-1 jerky slicer and tenderizer utilizes an innovative design to make it multipurpose. Our attachment is capable of both tenderizing meat and slicing it for many different uses.
- Slicing Capabilities: Use the included slicer roller to cut 14 perfectly and evenly sliced strips of meat. Each strip of meat will be 1/4" thick, making them the perfect size for jerky, cheesesteaks,...
- Tenderizing Made Easy: All it takes to tenderize instead of slice is to remove the easy-off top and replace the slicer roller with the other tenderizer roller. Our tenderizer attachment is capable of...
Last update on 2026-02-14 / Please note that Prices and Availability Are Subject To Change /Paid links / Images from Amazon Product Advertising API
Step Three: Marinade
Here is where beef jerky recipes differ. Everyone has their own favorite ingredients for marinating the slices of meat with. Now depending on the recipe you are using mix all the ingredients in a bowl or zip lock.
Add the slices of meat into your mixture ensuring all the slices are evenly covered with the marinade. To get the best tasting jerky marinade the meat for 6 to 24 hours. I always marinade for 18 hours. But you can do it for longer.
Remember the longer the better. Next, pat and dry the slices to remove any excess marinade. This helps speed up the dehydration process. Once this is done you meat is now ready for the dehydrator.
Step Four: Dehydrate
Step four place the slices of meat in the dehydrator. For better results make sure the slices are not overlapping and there is space between them. This allows for better air circulation and drying of the meat.
Next, turn the dehydrator to 160 degrees and let it run for four hours. The idea here is to ensure the internal temperature of the meat reaches 160 degrees. Ideally, how long you keep the meat in the dehydrator will depend on how thick they are.
Keep checking on your meat throughout the dehydration process. When the slices are ready they will be bent and cracked but not broken in half. So keep checking on the meat to avoid dehydration.
Once the meat is done let the slices cool off on the rack for a couple of hours.
Step Five: Storage
The final step is storage. You can store your beef jerky in either a zip lock bag, a vacuum sealed bag or in glass jars. Or you can opt for the easiest and best storage of all your stomach. But since it is unlikely you will be eating all the beef jerky once a vacuum sealed bag is ideal.
A vacuum sealed bag can keep your jerky for up to 2 months. But if you do not think that your jerky will last that long then you can opt for a ziplock bag. The latter is ideal for storing the jerky for 7-10 days.
How Long Should You Dehydrate Jerky?
How long to dehydrate beef jerky? Is this the same as long to dehydrate deer jerky? This is a question you have probably asked yourself. Now, while the ideal time is 4 hours for beef and deer it will depend. If your slices of meat are thick it may require more time.
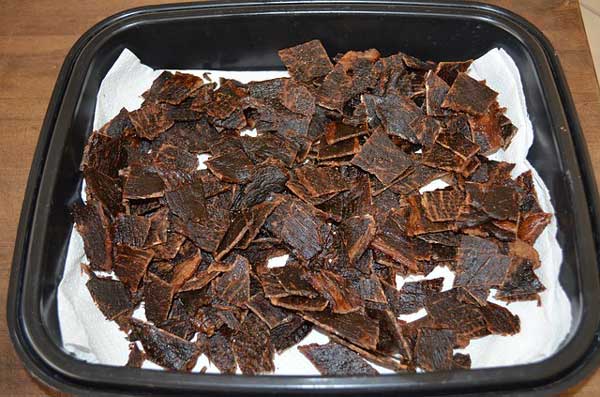
As I have already mentioned check on your meat throughout the dehydration process. This will help you know when it’s time to turn off the dehydrator. Also, it will depend on the kind of meat you are using.
When making beef jerky you can opt for either ground meat or sliced meats done by deer meat grinder. For ground meat, the time is between 4 and 15 hours. For sliced meats, the time is between 5 and 10 hours.
How Long To Dehydrate Beef Jerky at 155°
Well, to dehydrate beef jerky at 155°F you first pre-heat your oven for 10 minutes at 275°F. Then Dry the beef meat for 4 hours at 145° – 155°F. Then remove the jerky from the dehydrator. From our personal experience and research when you remove the strips it will be enough hot and not ready to package so let it cool down to room temperature and then do your packaging.
How To Make Tender Beef Jerky In A Dehydrator
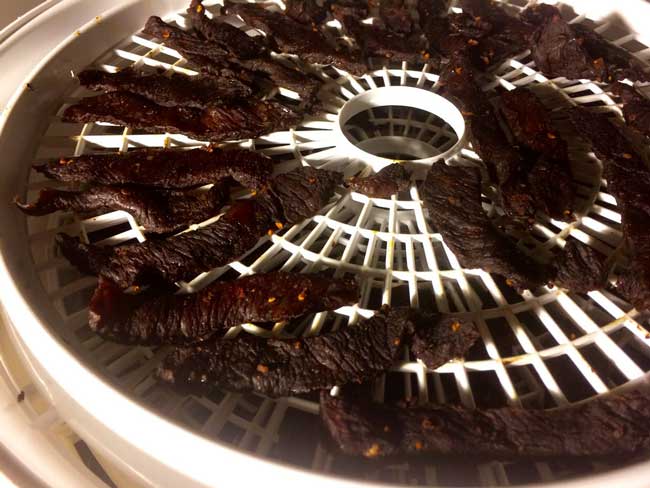
How to make tender beef jerky in a dehydrator? The answer to this question will depend on how you cut your beef slices. As I have already stated, there are two ways of cutting the slices. Once you cut the slices against the grain or you can cut with the grain.
If you want a tender beef jerky cut against the grain. This way you bypass the tough muscles that make beef jerky chewy. Also, how long you leave the meat in the dehydrator matters. Leave it too long and you will have broken and dried slices of beef.
How To Make Beef Jerky Without A Dehydrator
Not everyone has access to the best beef jerky dehydrator. Fortunately, there are quite a number of ways of preparing beef jerky without a dehydrator. In this section, I will be covering how to make beef jerky without a dehydrator.
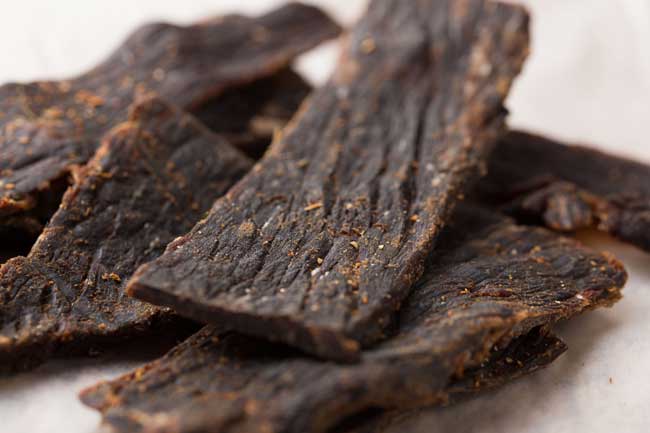
The process of preparation is the same whether you are using a dehydrator or not. Thus, you need to get a piece of lean meat. Flank steak is the best as it is as cheap as it is delicious. Avoid the more expensive porterhouse and filet mignon.
Also, you will need to remove any fat from the meat and place it in a freezer. The next step is, of course, marinating the slices of meat. You can choose the ingredients to use to marinade your slices of meat.
Where the process differs is in the drying phase. Instead of using a dehydrator, which I am assuming you don’t have you can use the oven. Turn your oven to 170 degrees Fahrenheit. If your oven cannot go this low turn it to 180 degrees Fahrenheit to 200 degrees Fahrenheit.
Place the slices of meat on a cookie sheet and place it on the cooling rack. This set up will have the same effect on your meat as a dehydrator would. If for one reason or another you do not have a cooling rack you can place the meat on the oven rack.
The only downside to this is that the marinade will drip. To counter this you can place something under the slices of meat to collect the dripping marinade juices.
If you want to go for a more traditional route you can use a roasting rack. A roasting rack will still get the job done. However, similar to the oven rack you will need to place something under the meat to collect the marinade juices
The next step is to bake the slices of meat for 2 to 5 hours. Now time will vary depending on the thickness of the meat and the temperature of your oven. Also, it will depend on how chewy you want your beef jerky to be.
Once the beef jerky is done you can choose to enjoy your home-cooked delicacy or place it inside the fridge for future eating. The storage of beef jerky does not vary and you want to get a zip lock bag or a vacuum sealed bag.
Should You Use A Dehydrator To Make Beef Jerky?
There is always the question of whether you should use an electric dehydrator for your beef jerky preparation needs. Obviously different people have different opinions on the matter.
Nevertheless, there are some benefits and disadvantages of using a dehydrator.
First, dehydrated foods have a longer life span. So using a dehydrator ensures that your beef jerky will be good for up to 2 months. Also, there are no additional additives required when dehydrating any foods.
This means the process is 100% natural. Making beef jerky at home with your dehydrator may be better than buying pre-made beef jerky. For the simple reason that it’s hard to know the exact ingredients that were used to prepare store-bought beef jerky.
In spite of all these benefits, there are certain things you should take note of. One is that dehydrators consume more energy as they need to run for long periods. For example, the ideal period of dehydrating beef jerky for is 4 to 15 hours.
This is a long time to keep the dehydrator running and consuming electricity. And sadly there is never the option of stopping halfway. This may attract unwanted bacteria even when the meat is hot.
Another thing to note is taste adjustments. The beef jerky you make at home may not be as tasty as your usual store-bought jerky. This is because the store bought jerky was made by people who are more experienced than you.
Also, there is the matter of the ingredients used. Store bought jerky might be made using ingredients that are not readily available at home. Also, most store-bought jerkies contain sugar and other additives and thus tend to be tastier.
Nonetheless, this is not to say that your homemade jerky will be tasteless. When done right, you can end up with delicious slices of beef jerky. Also, using a dehydrator is far much better than using an oven.
Ovens are not designed for food dehydration and you will have a far much difficult time getting the best results. So if you can I recommend getting a dehydrator. This appliance will greatly speed up the beef jerky making process.
The other ways of making beef jerky tend to be time-consuming and can take up to days. Thus, a dehydrator makes things more convenient.
Conclusion
Dehydrators consume electricity and can add up your electric bill. However, the result you get when you use a dehydrator is well worth it. There are many types, brands of dehydrators and getting the best can seem like a doubting task.
Also if you have never made beef jerky with a dehydrator before you might not get it right the first time. But with continuous practice, you will master the art of making beef jerky.
Dehydrators tend to improve the flavor of your jerky and is why many people prefer using them. In conclusion, there are many ways of making beef jerky. But using a dehydrator will speed up the process.

About The Author:
Lake Streeter, A Gun enthusiast, and loves to hunt in the middle of the wood. Always check the latest hunting gears out in the market and try to share his honest opinion with the audience in Tarheel3Gun.


5 thoughts on “How To Make Beef Jerky With A Dehydrator – 5 Easy Steps!”
Thank you this was the most helpful article I have found! I just bought my first dehydrator.
I too just bought my first dehydrator and i agree with George , this is a great page to reference while i try to make my first batch of Jerky. Thank You !
We are pleased to help you! Hope you will refer our post to your closest one as well as to your favorite hunting and recipe forum.
Hello I have an older F40 Nesco dehydrator no thermometer. I used a thermometer placed inside it read about 140 degrees. Years ago I made beef jerky in it which was fine. I followed directions according to manuel and placed directly in dehydrator. Is it my understanding that the temperature is to low and I need to place in oven first, since my dehydrator doesn’t go to 155-160 degrees? Am I not okay with what I have been doing or do I have to warm up to a certain temperature in the oven? Thank you.
Thank you – very informative!
Would you like to share your preferred ingredients for the marinade. I have purchased a dehydrator last year any was intimidated. Worry of failure. Trying it now.